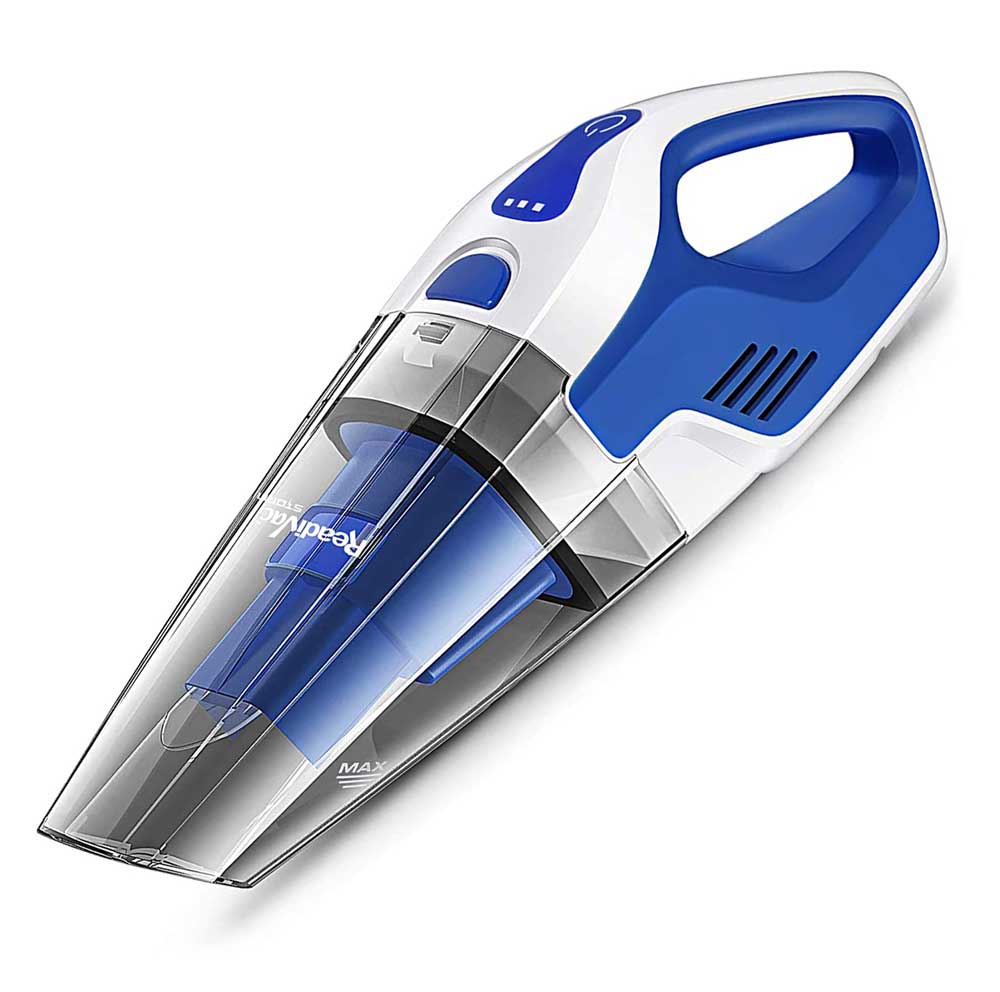
ReadiVac Storm Frequently Asked Questions
For filter replacement, ensure that the filter you select fits your respective model (model number is located on the product data label on the underside of the main unit housing). NEVER use vacuum without a filter installed – possible motor damage and action will void warranty.
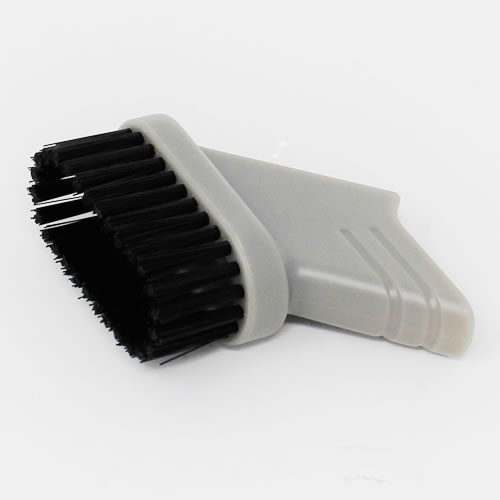
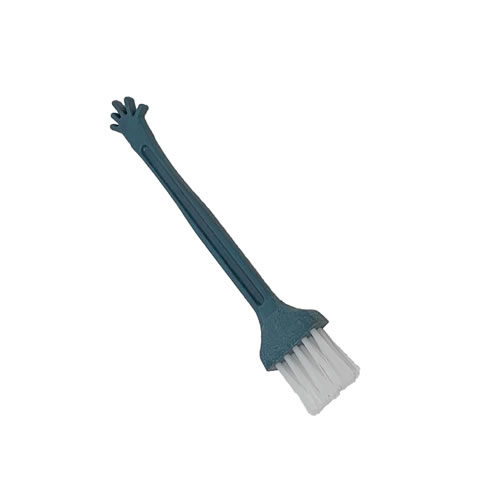
- The preferred method of cleaning the filter media is by using a small, soft bristled paint brush and the attachment hose from another vacuum. Brush off the collected surface debris on the filter and then vacuum the filter media with the second vacuum attachment hose.
- Periodically, the pleated filter should be cleaned by carefully rinsing the filter under running water; allow to fully air dry for at least 24 hours before installing back into the vacuum.
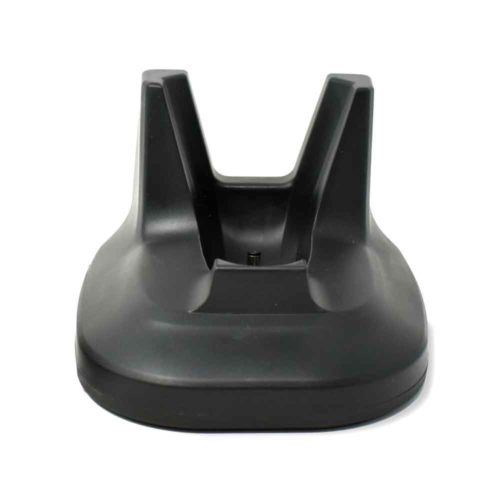
WARNING: Use the charging transformer and charging dock (base) supplied with this ReadiVac product. Failure to follow these instructions may result in fire or serious bodily injury.
- Insert the adaptor into the main socket located on the lower area of the handle. Always make sure that the vacuum is turned OFF before connecting the charging adaptor.
- Place the vacuum into the charging dock*. Ensure that it ‘seats’ properly onto the charging pin.
- Plug the power adaptor into an electrical wall outlet. The LED light(s) will begin to flash indicating the Storm is ‘seated’ properly in the charging dock.
- Charge the product for at least 6 hours before its first use.
- Average full charging time is 6 – 10 hours from fully discharged condition.
- Once fully charged, each of the 3 LED lights will be a solid BLUE color.
When the unit’s batteries are fully charged, the charging transformer will internally turn off and stop charging the batteries even though the LED’s on the unit are on and blue; this minimizes electrical consumption while the ReadiVac® product is plugged in to charge. Once battery voltage drops below a full charge voltage the charger will begin charging the batteries again.
- Remove the dust cup/tank by depressing the dust cup/tank release button. Note: careful not to press the “On/Off” button when removing the dust cup/tank.
- Remove the filter and diffuser from the dust cup/tank.
- Empty the contents of the dust cup/tank into the trash bin.
- Clean the diffuser and filter.
- Install the diffuser and filter into the dust cup/tank and reattach the dust cup/tank onto the vacuum.
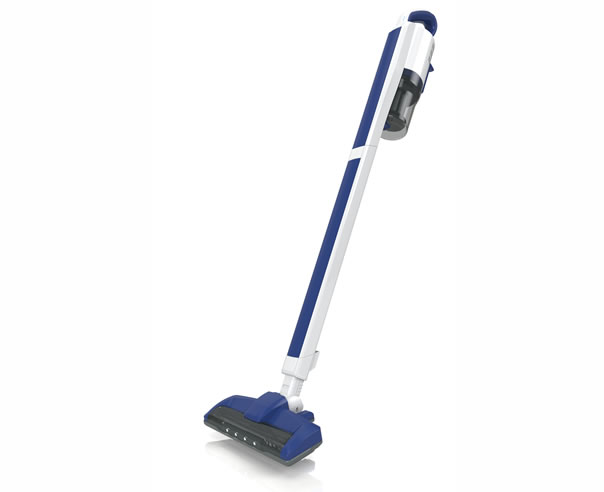
ReadiVac Eaze Frequently Asked Questions
The Eaze has 3 power (speed) settings:
High – Press the button 1 time to turn the vacuum cleaner “On”. The vacuum is in the HIGH power setting – Suggested setting for all floor surface vacuuming.
Medium – Press the button 1 more time (after vacuum is On). When the vacuum is OFF, press the button 2 times to put the vacuum in the MEDIUM power setting.
Low – Press the button 1 more time (after vacuum is in Medium power setting). When the vacuum is OFF, press the button 3 times to put the vacuum in the LOW power setting.
- Connect the Charger Place the vacuum cleaner on the Stand Base. Connect the Charger Cord Pin into the Recharging Port.
- Plug the charger into the wall socket The LED indicator will light up Red while recharging. The LED indicator will turn Blue when recharging is complete.
RECHARGING
- Red LED Light: Battery is charging
- Blue LED Light: Battery is fully charged
- Red & Blue Flashing LED Light: Potential Battery or System Issue. Stop using this product. Contact the ReadiVac Service/Warranty Dept. at 216-252-1190.
Please clean the Dust Container and all Filters frequently. Accumulated dust could cause weaker suction power and an unpleasant odor. Always turn the main unit power off. Unplug the charging cord before cleaning if the unit is being recharged.
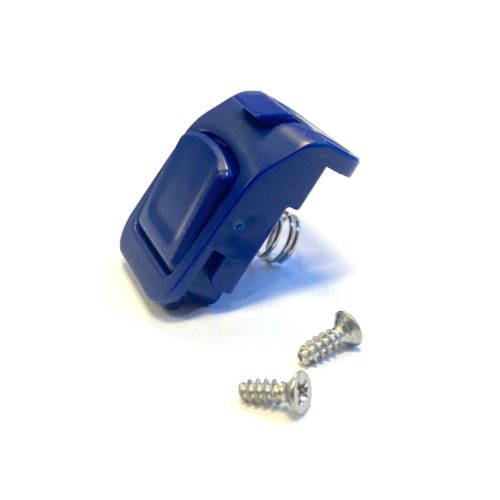
- Remove the Dust Container. Press the blue Release Button on the bottom of the dust container and remove the Dust Container from the vacuum.
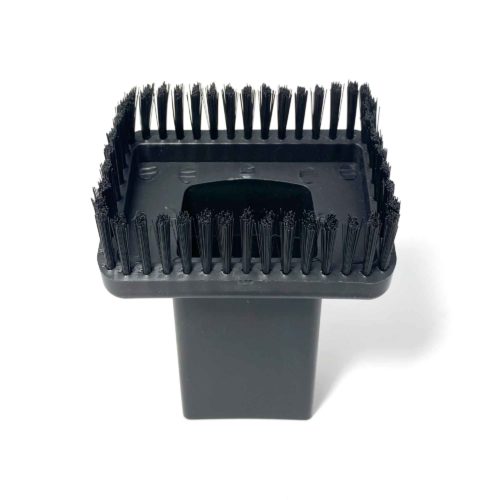
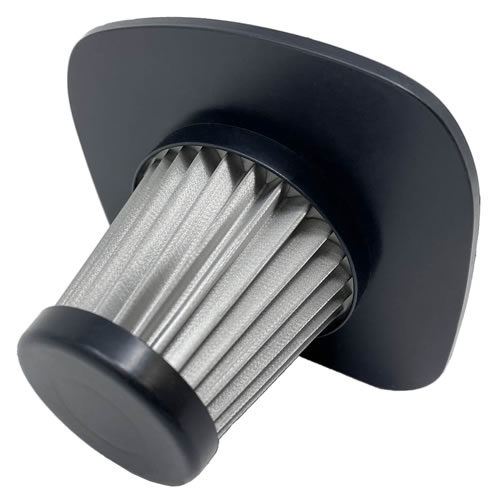
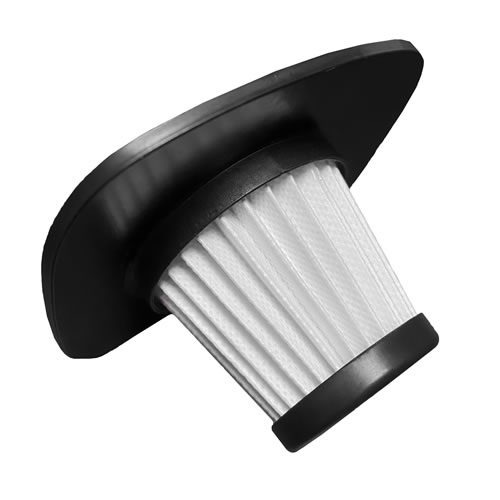
- Remove the Outer Filter Grip the handle of the filter and pull it out of the dust container. Check the Outer and Inner EPA Filters and clean as required (see Filter Cleaning and Maintenance).
- Dispose of waste in dust cup.
- Please restore the handle of the filter to its original position and attach the Dust Container to the main body.
- To reattach the Dust Container to the main body, ensure the protrusion (bump) on the main body aligns with the position of the hole in the Dust Container. Once the protrusion is aligned with the Dust Container hole, push the Dust Container toward the vacuum. Make sure there is a “click” sound, which indicates it is securely attached.
Please observe the following instructions to clean the vacuum cleaner regularly to maintain its best performance. Before you start cleaning, you must turn off the power and unplug the charger cord.
Main Body Maintenance
Please use a dry soft cloth to wipe off the dirt on the machine body. If the dirt is difficult to remove, diluted neutral detergent can be placed on the cloth. Wipe off the dirt with a soft damp cloth. Please do not use any chemical thinner, benzene, spray including abrasives etc. to clean the unit.
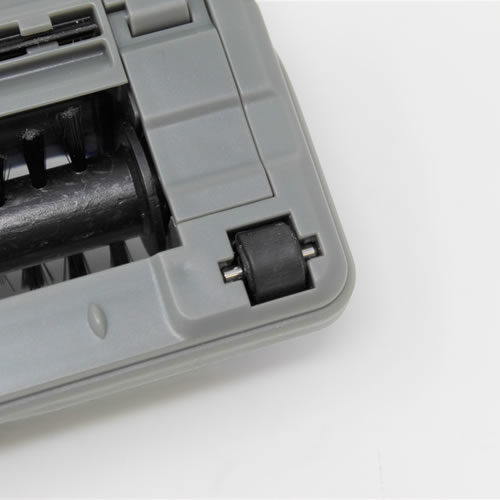
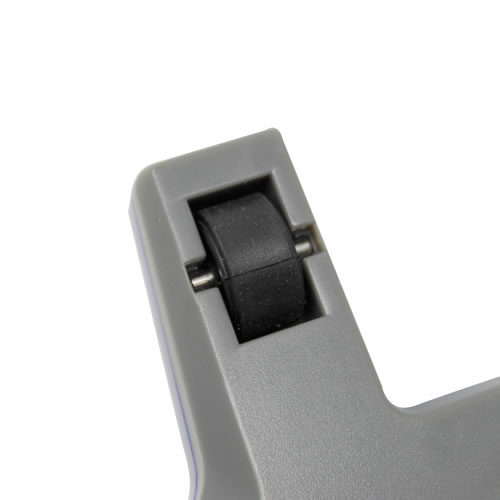
Nozzle and Dust Container Maintenance
Please clean the parts with a dry soft cloth. Dispose of the accumulated dust in the Dust Container regularly. Wash the Dust Container with warm water. NEVER wash the Floor Nozzle in water. After washing, carefully use a soft cloth to dry the parts. Please ensure that the parts are completely dry before attaching them back into the main body.
Filter and Dust Container Maintenance
Remove Outer Filter from the Dust Container. Remove pleated EPA Filter from the Outer Filter. Push the two protrusions of EPA Filter inwards and pull the EPA Filter out. Seal Ring Outer Filter Dust Container Using a small, soft bristled paint brush, carefully sweep all surface debris/dust from Outer Filter screen and pleated surface of EPA Filter until clean. Periodic washing of both Filters is required to remove fine surface dust. Carefully rinse filters in water. Ensure all parts are completely dry before reassembly.
EPA Pleated Filter Removal and/or Replacement
- Push the two protrusions of the EPA Filter inwards and pull it out. Install the new Pleated EPA Filter to the position.
- Do not discard the Seal Ring when replacing the filter. Please install it on the new filter “required”; otherwise, it will reduce vacuuming efficiency.
- The filter life depends on the usage frequency.
- NEVER vacuum without all filter components installed. Motor damage will incur and void unit warranty.